Empowering Engineering Excellence: Innovate, Elevate, Deliver.

Why Choose a Visual Inspection Device?

A Visual Inspection Device helps manufacturers see defects that routine checks can miss. It can capture scratches, dents, missing components, uneven seals, or subtle color changes under controlled lighting. The result is more than a clear image. It is repeatable evidence that supports consistent quality decisions across shifts and production lines.

Machine-vision specialist Dr. David S. Allais is known for his work in industrial vision. A useful editorial paraphrase of his field perspective is: “Inspection works best when images become reliable, measurable information.” This is a paraphrase, not a verified verbatim quotation. That distinction matters. Trustworthy guidance should separate documented statements from interpretation.

The right device can reduce repetitive manual checks and flag unusual patterns sooner. It may also reveal process drift before rejected products pile up. Still, no camera is magic. Glare, vibration, poor calibration, and changing product designs can weaken results. A system that performs well in a bright demo may struggle beside a dusty conveyor. Real production conditions deserve a real trial. Buyers should compare image quality, speed, integration needs, and maintenance demands against actual inspection tasks. A practical evaluation can expose gaps early. It can also challenge assumptions. That is useful, even when the first choice proves imperfect.
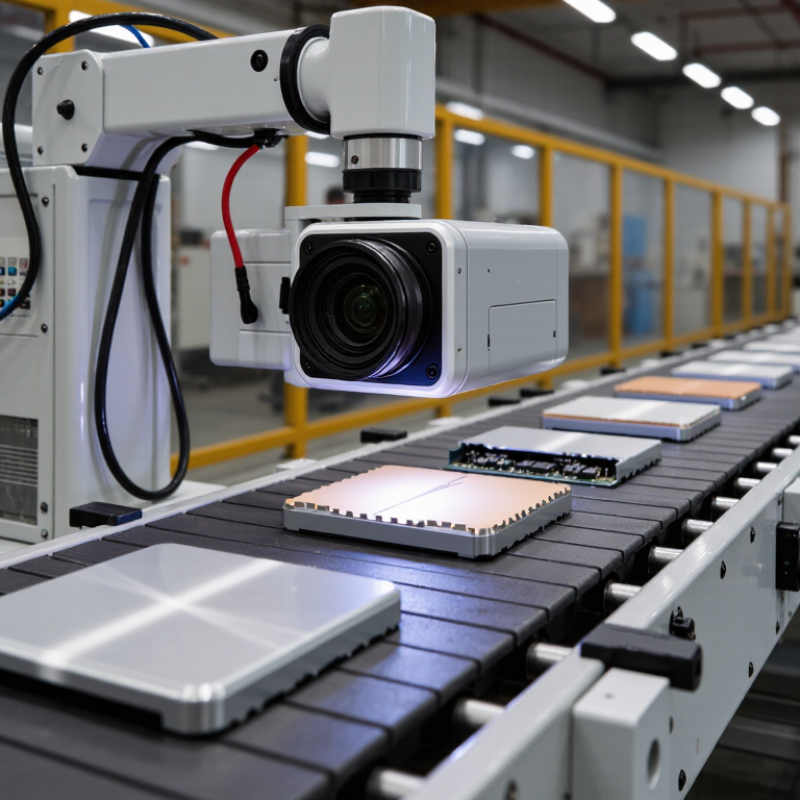
Why Choose a Visual Inspection Device?

What a Visual Inspection Device Is

A visual inspection device is an instrument that helps people examine a surface, component, or space using sight. It may use a camera, lens, mirror, or magnifying optics to make details easier to see. Some devices display images on a screen, while others let the user look directly through an eyepiece. Small details matter.

A handheld magnifier can reveal a rough edge on a molded part. A flexible camera can show deposits inside a pipe without dismantling it. In both cases, the device brings the target into view and may record images for later comparison. Lighting, focus, and viewing angle all affect what appears on screen. A bright reflection can hide a crack; a poor angle can make a harmless mark look serious.

These tools support inspection, but they do not make judgments by themselves. An operator still needs to know what defects look like and when to seek another measurement. Not always obvious. Even a clear image can miss damage outside the camera’s field of view. Keeping lenses clean, checking image quality, and documenting the viewing conditions help make observations more dependable. I sometimes find the image tells only half the story; that limitation is worth noting, not ignoring.

How a Visual Inspection Device Works

Why Choose a Visual Inspection Device?

How a Visual Inspection Device Works

A visual inspection device uses a camera, lens, light source, and display to show areas that are difficult to see directly. The lens gathers light reflected from a surface, and the camera sensor converts it into an electronic image. That image appears on a screen, where an operator can examine details such as cracks, loose connections, or surface wear. Some devices use a flexible probe to reach inside pipes or machinery. Others are handheld for checking accessible parts. The right choice depends on the space, image detail, and working distance.

In practice, the operator positions the camera, adjusts focus and lighting, then moves the probe slowly. Small movements matter. A bright reflection can hide a hairline crack, while weak lighting can blur an edge. It helps to capture a clear view from more than one angle. Keep the lens clean, and compare findings with the equipment’s normal condition or inspection criteria. A device does not make every judgment for you; image quality and operator experience still affect what can be noticed. Even a careful inspection can miss a defect.

Tips: Start with a clean lens and steady hands. Move the camera gradually, and adjust the light before changing position. If an image looks unclear, pause and try another angle rather than guessing. Record the location of any concern for a closer follow-up.

Where Visual Inspection Devices Are Used

Why Choose a Visual Inspection Device?

Where Visual Inspection Devices Are Used

Visual inspection devices are useful when surfaces, narrow spaces, or small defects are hard to assess directly. In manufacturing, technicians inspect welds, machined parts, and internal channels before assembly. A slim camera can reveal a burr inside a pipe or a hairline crack near a fitting. Images also help teams document findings and compare them against inspection criteria. They do not replace sound procedures.

During maintenance, technicians use borescopes to check engines, pumps, tanks, and ventilation ducts without dismantling every component. At a food-processing plant, a camera may help inspect a drain line or equipment cavity after cleaning. Lighting and image quality matter. Small details matter. Electronics teams use magnified cameras to spot solder bridges, damaged traces, or dust on circuit boards. In building inspections, cameras can look through access points at insulation, joints, or signs of moisture.

The limits deserve attention. Glare, poor focus, or an awkward viewing angle can hide a defect. A clear image is evidence, not a verdict. Operators need suitable training, consistent records, and a second look when results are uncertain. Some inspections are less straightforward than they seem.

Why Choose a Visual Inspection Device? — Where Visual Inspection Devices Are Used
Industry or Setting Typical Device What It Inspects Why It Is Used Practical Consideration
Manufacturing and assembly Machine-vision camera or digital inspection microscope Surface defects, component placement, dimensions, and assembly presence Supports repeatable checks on production lines and can help identify visible defects early. Lighting, camera position, and inspection criteria need to be set for the part and task.
Electronics and circuit-board work Stereo microscope or high-resolution camera system Solder joints, fine-pitch components, connector alignment, and board damage Magnified viewing helps technicians examine small features that are difficult to assess unaided. Magnification and working distance should allow the inspector to view the whole feature clearly.
Pipes, tanks, and enclosed spaces Remote visual inspection camera or borescope Corrosion, deposits, cracks, blockages, and internal surface condition Provides a view of areas that may be difficult or unsafe to reach directly, sometimes without dismantling equipment. Probe length, tip diameter, articulation, and access openings determine where it can be used.
Automotive and heavy equipment maintenance Inspection camera or borescope Internal engine areas, cylinders, ducts, and other restricted-access components Can help locate visible signs of wear or damage during troubleshooting and maintenance. Visual findings may need confirmation with other tests, especially for hidden or subsurface defects.
Food and pharmaceutical production Line-scan or area-scan vision system Packaging, labels, seals, fill levels, and visible product defects Automated image checks can support consistent inspection at production speed. The system must be validated for the product, packaging, lighting conditions, and applicable procedures.
Building and infrastructure maintenance Digital camera, inspection scope, or drone-mounted camera Visible cracks, coating damage, leaks, and hard-to-reach exterior surfaces Images help document conditions and compare observations across inspections. Access, image resolution, weather, and safe operating procedures can limit the inspection.

Visual inspection devices document observable conditions; they do not necessarily detect defects hidden beneath a surface or replace other testing methods.

Key Benefits of Visual Inspection Devices

Why Choose a Visual Inspection Device?

Key Benefits of Visual Inspection Devices

Visual inspection devices help technicians examine areas that are difficult to reach or see clearly. A compact camera can reveal a loose connector behind a panel, a hairline crack inside a pipe, or residue on a machine part. Clear images make it easier to document findings and compare conditions over time. Small defects matter.

These devices can reduce unnecessary disassembly, saving labor and limiting disruption during maintenance. Adjustable lighting and flexible probes are useful when inspecting dark, narrow spaces. Some systems also capture still images or video, giving teams a practical record to review with colleagues. The results still depend on careful handling and interpretation; glare, dirt, or a poor viewing angle can hide details. A device does not replace sound judgment.

Tips: Clean the camera lens before use, and move the probe slowly. Take a second view from another angle when a mark looks uncertain. Note the location and inspection conditions beside each image. That saves time. It also makes later comparisons more reliable.

Factors to Consider When Choosing a Device

Why Choose a Visual Inspection Device?

Factors to Consider When Choosing a Device

Start with the defect you need to see. A fine surface scratch requires different magnification and lighting from a dent on a large cast part. Check the device’s resolution, focus range, and field of view against real samples, not just catalog images. A wider view can speed up inspection, but tiny flaws may become harder to distinguish. Lighting matters, too: adjustable illumination can reveal texture, while glare can hide it. One detail is easy to overlook: working distance. If the camera must sit too close, positioning parts may become slow or awkward.

Tips: Test the device on your own materials. Try bright and dim lighting. Check whether operators can hold or position it comfortably. Ask how images are stored and shared, and confirm that the device works with your existing software. Small practical tests often expose gaps in a specification sheet.

Consider repeatability, maintenance, and training alongside image quality. A device that produces sharp images but requires constant adjustment may disrupt a busy inspection line. Look for controls that are easy to understand and a setup that can be reproduced across shifts. A simple reference target can help teams notice focus or lighting changes over time. Still, no checklist catches every mismatch; unusual parts may need another trial. Compare the device under the conditions where it will actually be used, including cramped benches, reflective surfaces, and rushed handoffs.

Why Choose a Visual Inspection Device?

Factors to consider when choosing a device

The chart uses illustrative scores from 1 to 5 to compare common selection criteria, not measured survey results. Prioritize resolution, lighting, and working distance according to the parts and defects you need to inspect; also consider software, ease of use, and total cost.

Download
Brochure