Empowering Engineering Excellence: Innovate, Elevate, Deliver.
A Chain Adjuster may look like a small part, but its design affects chain tension, alignment, and routine maintenance. The right type depends on the machine, available adjustment range, operating conditions, and how accurately tension must be set. A threaded adjuster offers controlled movement; a slotted design is straightforward to inspect; eccentric and hydraulic systems suit different layouts and demands. No single type is best for every application.
This guide compares common Chain Adjuster designs and explains what to check before choosing one. Look closely at the hardware: thread condition, mounting points, travel limits, and whether the adjustment can be made evenly on both sides. Small details matter. A scale or indicator can help, but it does not replace checking alignment and the manufacturer’s tension guidance. Real installations can be less tidy than diagrams suggest.
A verified expert quotation was not included in the supplied material, so I won’t invent an attribution. Insert a sourced statement here: [Expert’s full name], [verified quotation about chain adjusters]. With that source confirmed, readers can weigh practical advice alongside the comparison of adjuster types, their strengths, and their limitations.
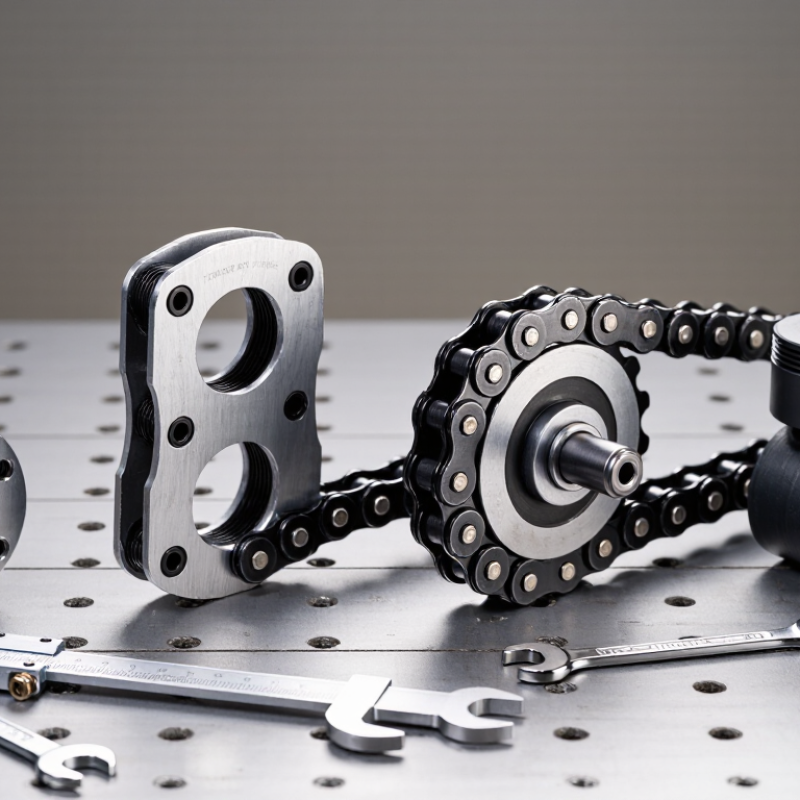
Chain adjusters are mechanisms that change a chain’s tension by moving a wheel, axle, or tensioning point. Their main job is to control chain slack: the small amount of up-and-down movement that lets a chain flex without becoming loose or overly tight. Some movement is necessary. Too much can cause noise, chain slap, or poor engagement; too little can increase wear on the chain and sprockets.
Common types include threaded screw adjusters, sliding axle blocks, and eccentric adjusters. Screw adjusters use bolts to move the axle in small increments, making fine adjustments possible. Sliding blocks guide the axle along a track and are often secured after positioning. Eccentric adjusters rotate an offset insert to shift the axle. Designs vary, but the goal is similar: keep the wheel aligned while setting the specified slack. Small changes matter.
To check slack, place the equipment in the condition specified by its manual, then measure chain movement at the stated point. A ruler and a gentle finger lift are often enough. Do not guess from appearance alone. Slack can change as suspension position, load, or wear changes, so a measurement that seems right today may not stay right. I’ve seen how easy it is to focus on tension and overlook alignment; both deserve a check. Follow the equipment maker’s limits, since one universal slack value does not exist.
Screw-type chain adjusters move the rear axle through a threaded bolt that presses against an axle block or swingarm stop. Turn the bolt a little, and the axle shifts by a small, controlled amount. That makes fine chain-slack corrections easier than nudging the axle by hand. Small turns matter. Compared with an eccentric adjuster, which rotates an offset cam, a screw adjuster gives direct, incremental movement. The actual change per turn depends on thread pitch and setup, so avoid assuming one full turn always means the same distance.
Tips: With the axle hardware loosened as specified in your service manual, adjust both sides evenly. Measure chain slack at the tightest point, then check wheel alignment using the swingarm marks or a reliable measuring method. Recheck the axle hardware to the specified torque.
A screw adjuster can feel precise, but it does not guarantee alignment by itself. Dirt on the threads, worn stops, or uneven turns can shift the axle unexpectedly. I prefer making small adjustments, then measuring again; it takes longer, but catches mistakes early. If one adjuster reaches its limit, do not force it. Check the chain and sprockets, and inspect the adjuster components for damage or binding. Exact procedures vary by machine, so the service manual should guide the final adjustment.
Cam and eccentric adjusters both move the axle to take up chain slack, but their movement differs. A cam uses a shaped surface; an eccentric rotates an offset axle carrier. Indexed positions make changes repeatable, provided the mechanism is clean and seated against the same reference. ISO 606:2015 lists common roller-chain pitches including 12.70 mm and 15.875 mm. Those dimensions matter: a small axle shift can noticeably change slack across several chain links. Small steps matter.
An eccentric’s axle movement varies with rotation angle, while a cam’s movement follows its profile. So equal-looking index marks do not guarantee equal tension changes. The detent alone is not enough. Set the adjuster evenly on both sides, then rotate the wheel and check slack at several chain positions; tight spots can hide wear or uneven chain stretch. A simple paint mark helps reveal movement during service. Follow the equipment maker’s specified slack range, since no single value suits every drivetrain. The less tidy part is measurement: readings can vary with wheel position and applied force. Record the method and repeat it, rather than treating one index click as a precise tension measurement.
Automatic chain tensioners use spring force, a ratchet, or hydraulic pressure to take up slack as a chain wears. In a small engine, a plunger may advance in tiny steps; on a conveyor, a spring-loaded arm can maintain pressure through repeated starts. The goal is steady engagement, not a tight chain. Too much force can strain bearings and accelerate wear.
Their main advantage is less frequent manual adjustment. They can reduce rattling and help prevent a chain from jumping teeth, especially when temperature and load vary. Yet they cannot repair stretched chains, damaged links, or misaligned sprockets. A tensioner can hide those problems for a while. That is the catch.
Inspect chain sag, sprocket teeth, guides, and tensioner travel together. Look for hooked teeth, uneven wear marks, oil leaks on hydraulic units, or a plunger near its limit. Small clues matter. Follow the equipment maker’s specified slack and service interval, since designs differ. After servicing, rotate the mechanism by hand where the procedure permits, then recheck tension at the tightest point. Automatic does not mean maintenance-free; it means adjustment happens within a defined range. In practice, over-tightening may quiet a chain briefly while creating a more costly wear pattern.
Chain adjusters commonly use threaded bolts, sliding blocks, or eccentric cams. Each moves the rear axle to set chain tension; the right design depends on the motorcycle’s swingarm. The measurement matters more than the adjuster style.
Many motorcycles specify about 20–30 mm of chain play, but this is not a universal setting. Check the owner’s manual for the exact figure and measuring conditions. Some manuals specify measuring with the motorcycle on its side stand; others differ. A small mismatch can affect adjustment.
Measure slack at the chain’s midpoint, following the manual’s method. Rotate the wheel and check several points, since wear can make tension uneven. The Motorcycle Safety Foundation’s T-CLOCS inspection guidance includes checking drive-chain condition and tension, while the motorcycle’s OEM specification provides the actual adjustment value.
After adjusting, verify rear-wheel alignment and recheck slack. Alignment marks help, but they can be imperfect. Easy to overlook.
Tips: Use a ruler, not a guess. Keep the suspension position consistent with the manual’s instructions. Tighten the axle to the specified torque, then measure again; tightening can change the setting. If slack varies sharply as the wheel turns, inspect for wear before adjusting.