How to Choose the Right Sealing Compound?
Choosing the right Sealing Compound is rarely a simple product comparison. The correct material depends on temperature, pressure, movement, surface type, and chemical exposure. A sealant that performs well on a bathroom joint may fail quickly inside a heated machine. Small differences matter.
In practical maintenance work, many sealing problems begin with incomplete information. A buyer may focus on color or price, while ignoring curing time and compatibility. Check the technical data sheet carefully. Confirm the application temperature, service range, adhesion properties, and resistance to oils or moisture. The surface must also be clean, dry, and properly prepared. This sounds basic. It is often overlooked.
Professional selection requires evidence, not confident guesses. Consult manufacturer guidance and involve qualified engineers when the joint affects safety or equipment performance. Consider the installation environment, expected service life, and available repair conditions. A fast-curing product may save time, yet it can create problems when positioning requires adjustment. A flexible compound may handle vibration better, but it may not tolerate certain chemicals. There is no universal answer.
Even experienced technicians can choose poorly when specifications are unclear. That deserves honest review. Record the product used, surface condition, curing time, and operating results. These details create useful experience for future decisions. Before purchase, compare verified performance data with the real demands of the joint. The best Sealing Compound is not always the strongest or most expensive option. It is the one that remains reliable in the actual environment.
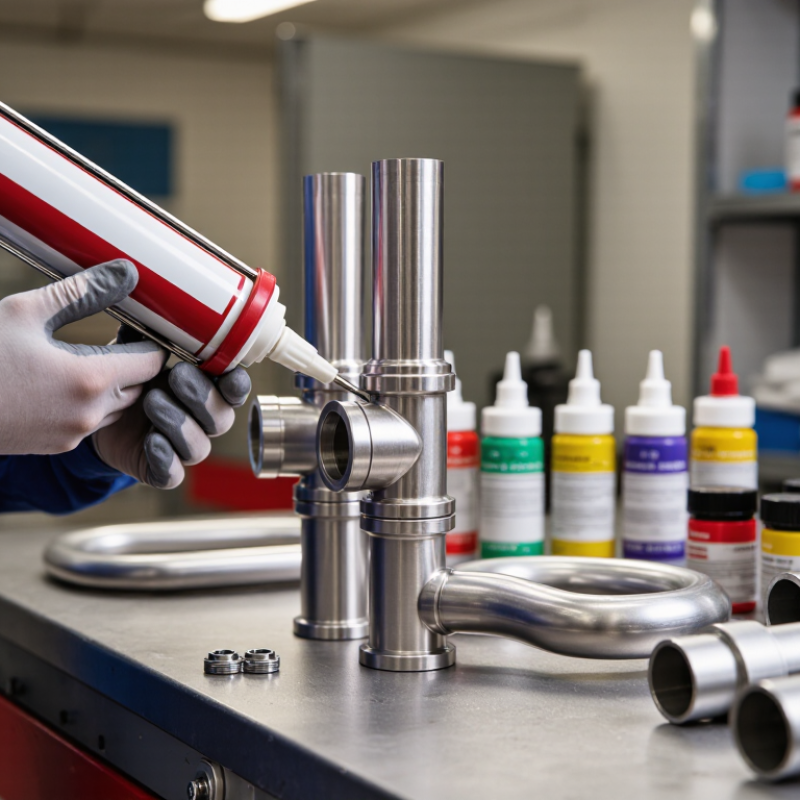
Assess Joint Movement, Width, Depth, Temperature, and Chemical Exposure
How to Choose the Right Sealing Compound?
A reliable choice starts with the joint, not the cartridge. Measure expected movement, joint width, and depth. Record the smallest and largest opening across one annual cycle. ISO 11600 identifies movement classes of 7.5%, 12.5%, 20%, and 25%. Select a class above the calculated movement, not equal to it. Small errors become leaks.
Width and depth must work together. Many façade specifications use a two-to-one width-to-depth proportion for elastic sealants. Confirm the compound’s technical data sheet, because geometry depends on the substrate and movement. Install a compatible backer material. It controls depth and prevents three-sided adhesion. A 20-millimeter joint should not be filled 20 millimeters deep. That restricts flexibility.
Temperature changes can be severe. Concrete expands about 10 microstrains per °C, according to ACI 224R guidance. Calculate movement across the actual panel length. Then check application and service temperatures. Chemical exposure needs equal attention. ASTM C1248 evaluates staining, while ASTM C719 measures adhesion after repeated movement. For kitchens, laboratories, or wastewater areas, request immersion or spot-testing data. Do not rely on “chemical resistant” alone.
The awkward truth: field conditions are rarely clean. Dust, moisture, and rushed preparation can defeat a technically excellent compound. A small site trial is often wiser than confident guessing.
Select ASTM C920 Movement Classes, Including ±25% and ±50% Capability
How to Choose the Right Sealing Compound?
A sealing compound should match the joint’s expected movement, not just its color or surface finish. ASTM C920 movement classes provide a practical reference for this decision. Class 25 materials can accommodate movement of approximately ±25% of the original joint width. Class 50 materials can handle approximately ±50%, when properly designed and installed.
For example, a 20 mm joint rated for ±25% may move about 5 mm in either direction. A ±50% compound may accommodate about 10 mm. These figures assume suitable adhesion, correct joint geometry, and stable installation conditions. They do not excuse poor preparation. The backer rod, bond-breaker arrangement, joint depth, and substrate condition still matter greatly.
Field experience often reveals the weak point. Dust, moisture, or an overly deep seal can cause failure before the compound reaches its rated movement. I have also seen specifications choose Class 50 without confirming whether the joint actually needs that flexibility. More movement capability is not automatically better. It may affect tooling, adhesion, cure behavior, and cost. Check the ASTM C920 classification, manufacturer test data, service temperature, chemical exposure, and substrate compatibility. Then compare those details with real joint movement, including daily heat cycles and building vibration. A small site trial is wise, although it can feel unnecessary when the schedule is tight.
How to Choose the Right Sealing Compound?
Select ASTM C920 movement classes, including ±25% and ±50% capability requirements
ASTM C920 movement classes are expressed as total joint movement: 12.5%, 25%, and 50%. A Class 50 sealant is commonly interpreted as accommodating approximately ±25% extension and compression around the joint’s nominal position. A ±50% requirement represents a higher design target and should not be treated as the ASTM C920 Class 50 designation; verify the manufacturer’s tested movement capability and project specifications before selection.
Verify Service Temperature, Cure Rate, Shore Hardness, and Adhesion Data
How to Choose the Right Sealing Compound?
A sealing compound should match the real service temperature, not just the number on a product sheet. Check continuous and peak temperatures, then consider heating cycles. A seal exposed to 120°C for ten minutes may behave differently from one held there for months. Cold exposure matters too. Many failures begin during startup, not normal operation.
Cure rate also deserves careful testing. A fast-curing material can reduce assembly time, but it may skin over before filling narrow gaps. Measure tack-free time, full cure time, and cure depth under your actual humidity and joint size. Shore hardness helps predict flexibility and resistance to compression. A harder seal is not always better. It may resist movement but crack when two surfaces expand differently. Ask for hardness values after complete curing, not only after a short laboratory test.
Adhesion data should identify the exact substrates and preparation method. Clean metal, painted metal, glass, and plastic can produce very different results. Check whether testing used primer, abrasion, or solvent cleaning. Then test a small assembly under temperature cycling and movement. This is where laboratory confidence meets workshop reality. I once treated a published adhesion value as universal; it was not. The test surface was smoother and cleaner than our production parts. Leave room for that mistake. Repeat testing with aged, contaminated, and slightly uneven surfaces before approving the compound.
Confirm ISO 11600 Classification, Compatibility, Testing, and Installation Limits
Choosing the right sealing compound starts with its ISO 11600 classification, not its color or price. The code identifies intended use, movement capability, and modulus. For example, F 25 LM targets facade joints with 25-class movement and low modulus. G classifications address glazing applications. The “25” is a laboratory movement rating, not an automatic design allowance. ASTM C920 adds useful U.S. performance data. Its Class 50 designation requires ±50% movement capability under specified testing. However, real joints face dust, sunlight, water, and uneven adhesion.
Compatibility testing must include every contact surface. Test the sealant against concrete, metal, glass, coatings, insulation, and the backer material. A small site mock-up can reveal staining, poor adhesion, or uncured sections before installation. ASTM C1087 provides a recognized method for testing sealant compatibility with insulating glass components. Application limits matter too. Check substrate temperature, moisture, joint width, cure depth, primer requirements, and service temperature. A product may pass laboratory tests yet fail on a cold, damp wall. That uncomfortable possibility deserves attention.
Tips: Request the latest technical data sheet and test report. Confirm ISO 11600 classification, not just “weatherproof” language. Perform a peel-adhesion check after curing. Keep records, including batch number, temperature, humidity, and surface preparation. Installation mistakes are often blamed on the compound. Sometimes, fairly, they should be. Sometimes, the joint design was wrong from the beginning. Never exceed the manufacturer’s stated joint dimensions or curing limits.